How to Solder Copper Pipe Fittings

Soldering copper pipe fittings is a crucial skill for both DIY enthusiasts and professional plumbers. It involves connecting copper pipes by applying heat and using a metal alloy called solder to form a durable joint. While it may seem daunting at first, mastering this technique is entirely achievable with practice and the right guidance. This comprehensive guide will walk you through the necessary tools, preparation steps, and techniques to ensure your soldering project goes smoothly. ### Understanding Soldering Soldering is a versatile manufacturing process that involves joining two or more materials by melting a filler metal into the joint. This method is widely used in various industries, from electronics to plumbing, to create secure and long-lasting bonds. When soldering copper pipes, the process typically involves heating the joint and applying flux, which helps prevent oxidation and ensures a solid connection. Properly executed soldering creates a seamless seal that is both strong and watertight. ### Safety First Before diving into soldering copper pipe fittings, safety should always be your top priority. Always wear protective gear, including gloves and safety glasses, to shield yourself from potential burns and harmful fumes. Ensure the workspace is well-ventilated to avoid inhaling toxic gases produced during the soldering process. Never store soldering tools or fuel in plastic containers, as they can become unstable under high temperatures. Overheating copper pipes can lead to serious issues, so maintain control over the torch and avoid prolonged exposure to any single area. ### Preparing the Pipes The success of your soldering project hinges heavily on proper pipe preparation. Start by inspecting each pipe for cleanliness and ensuring there's no debris or corrosion. Wipe down the surfaces thoroughly with a damp cloth to eliminate dust and grime. Next, use fine-grade steel wool to buff the exterior of the pipes, removing any oxidation or tarnish that could interfere with the soldering process. To further enhance adhesion, employ an abrasive cleaning pad like Scotch-Brite to strip away residual oils. These steps ensure optimal bonding and help prevent leaks in the future. ### Applying Flux and Solder With the pipes prepared, it's time to apply flux. Use a brush to coat the ends of the pipes and the interior of the fittings generously but evenly. Insert the pipe into the fitting, ensuring a snug fit. Heat the joint gently with your torch, keeping the flame mobile to avoid damaging surrounding materials. As the flux begins to bubble and change color, introduce the solder wire to the joint. Allow the solder to flow freely into the gap, filling it completely while maintaining a smooth, polished finish. Be patient during this step—improper application can lead to weak joints or unsightly blemishes. ### Checking for Leaks Patience is key once the solder has cooled. Resist the urge to test the joints immediately; allow sufficient time for everything to settle. Gradually turn on the water supply and observe the joints carefully for any signs of leakage. Should leaks occur, calmly disassemble the faulty joint using a pipe cutter and repeat the process. Mistakes happen, but learning from them is part of the journey. ### Troubleshooting Common Issues Even experienced plumbers encounter challenges. A frequent hiccup is overheating, which can result in pooled solder and compromised joints. In such cases, consider using a solder sucker or wire to remove excess material before retrying. Another pitfall is rushing the cooling phase, which may cause cracks and subsequent leaks. Always respect the cooling period to achieve reliable results. ### Final Thoughts Soldering copper pipe fittings is not only practical but also rewarding. By adhering to the outlined procedures and prioritizing safety, you'll soon master this essential skill. Remember, preparation is half the battle, so take your time and approach each step methodically. With dedication and practice, you'll gain confidence in your ability to create robust, leak-proof joints. Happy soldering!

Rollers

Product

  1. Step wheel 80x32 bearing 6203 for escalator spare part
  2. Step wheel 80x25 bearing 6304 for escalator spare part
  3. Step wheel 70x25 bearing 6204 for escalator spare part
  4. Step wheel 76x25 bearing 6204 for escalator spare part
  5. Step wheel 80x25 bearing 6006 for escalator spare part

Specifications

  1. Long life & stable
  2. Factory made


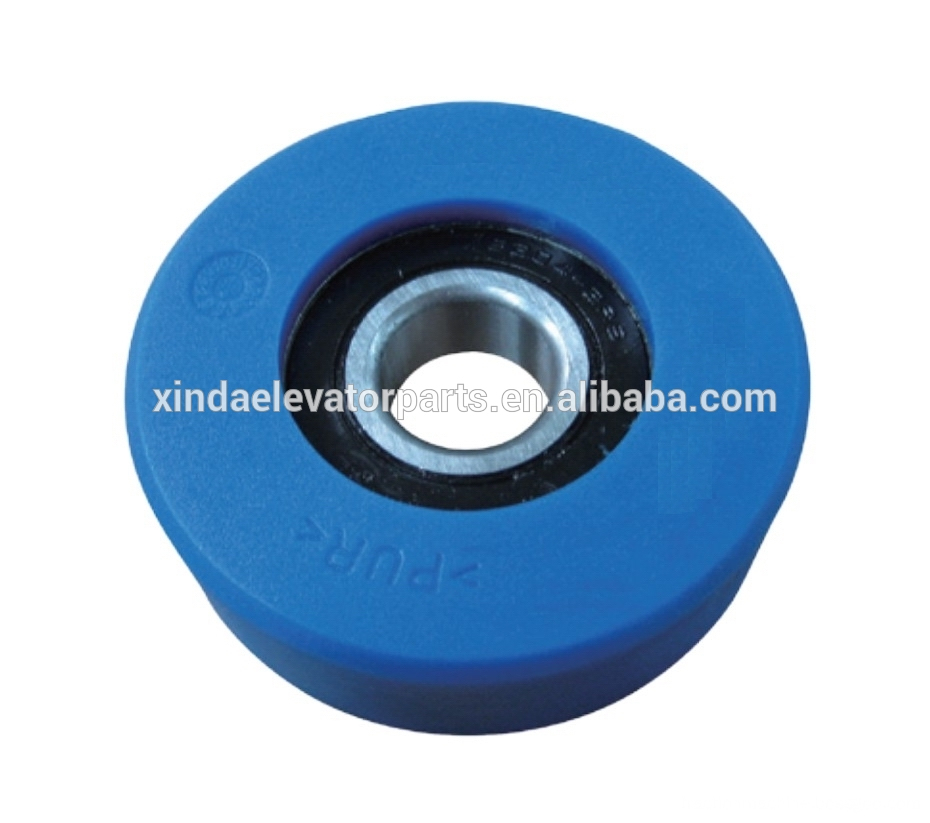
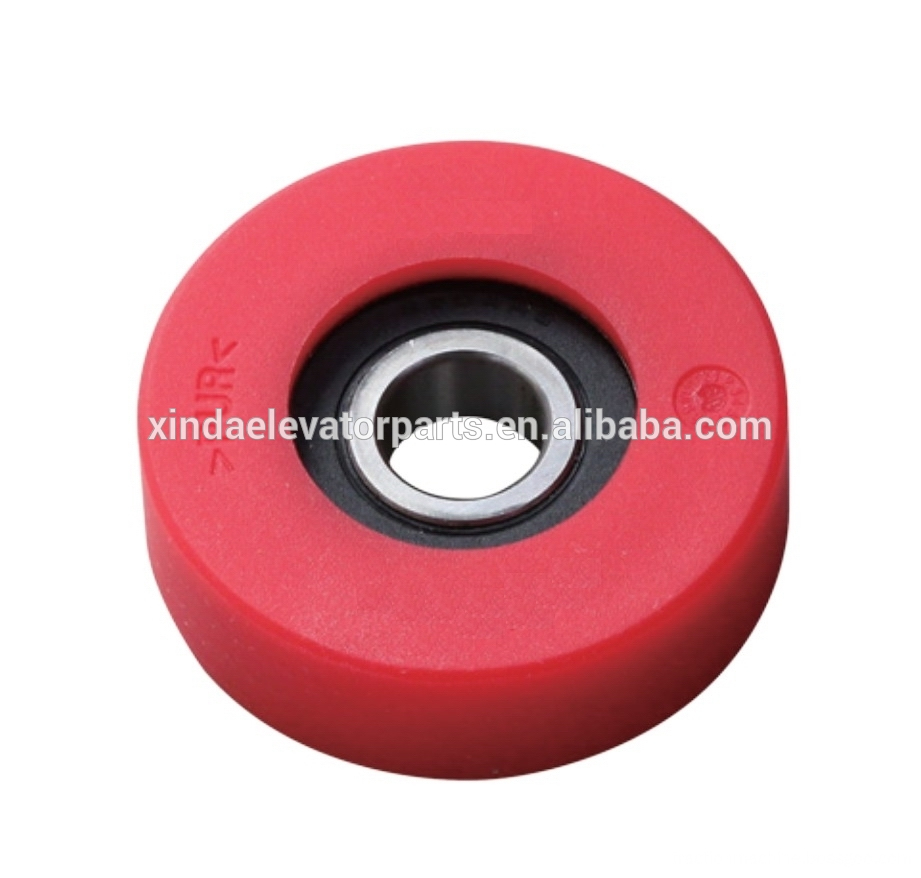
Rollers for Escalator Spare Part, Escalator Reversing Chainwheel, Escalator Step Chainwheel, Step Wheel Bearing

Ningbo Xinda Elevator Traction Technology Co., Ltd. , https://www.xinda-elevator.com