
Insertion force test machine test example operation instructions
Cross Section Wind Measuring flow meter Cross Section Wind Measuring flow meter,Cross Section Wind Measure,Cross Section Wind Measure Equipment,Cross Section Type Wind Measure Jingsu Huaerwei Science and Technology Group Co.,Ltd , https://www.hewflowmeter.com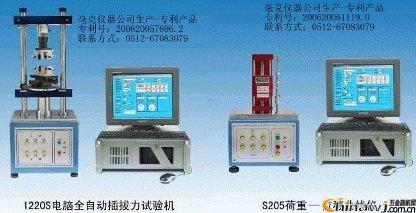 Http://news.chinawj.com.cn